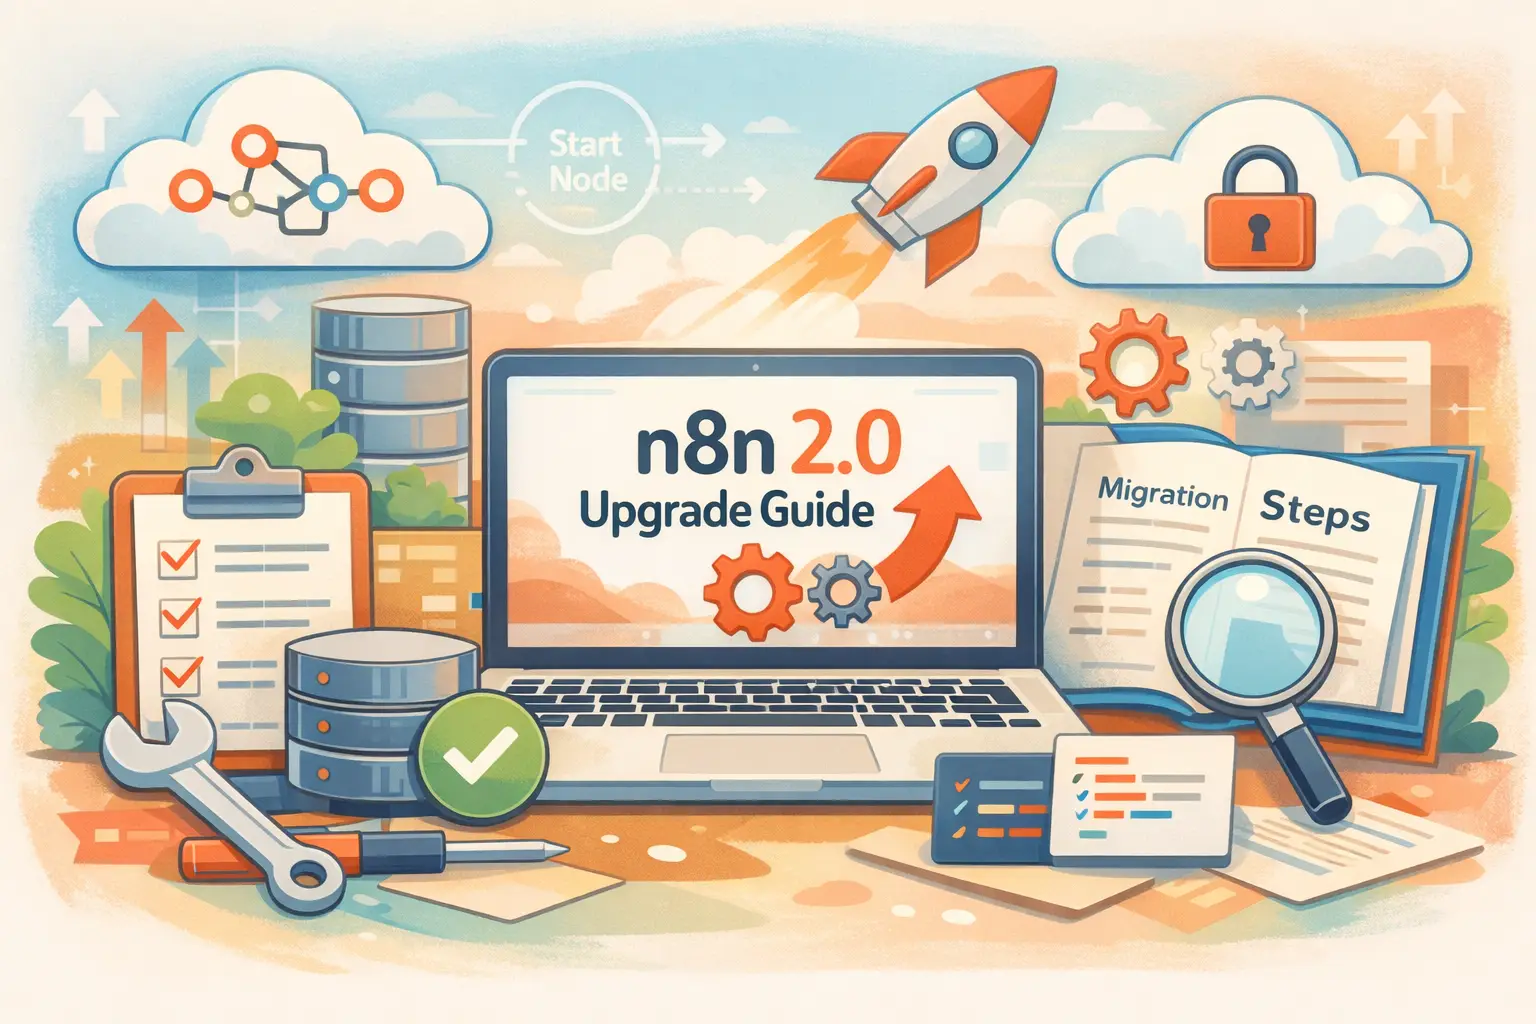
n8n 2.0 Database Migration: MySQL to PostgreSQL - Complete Fix Guide
A comprehensive guide to transitioning your n8n database from MySQL/MariaDB to PostgreSQL, ensuring a smooth upgrade to n8n 2.0 with detailed steps, troubleshooting tips, and best practices.
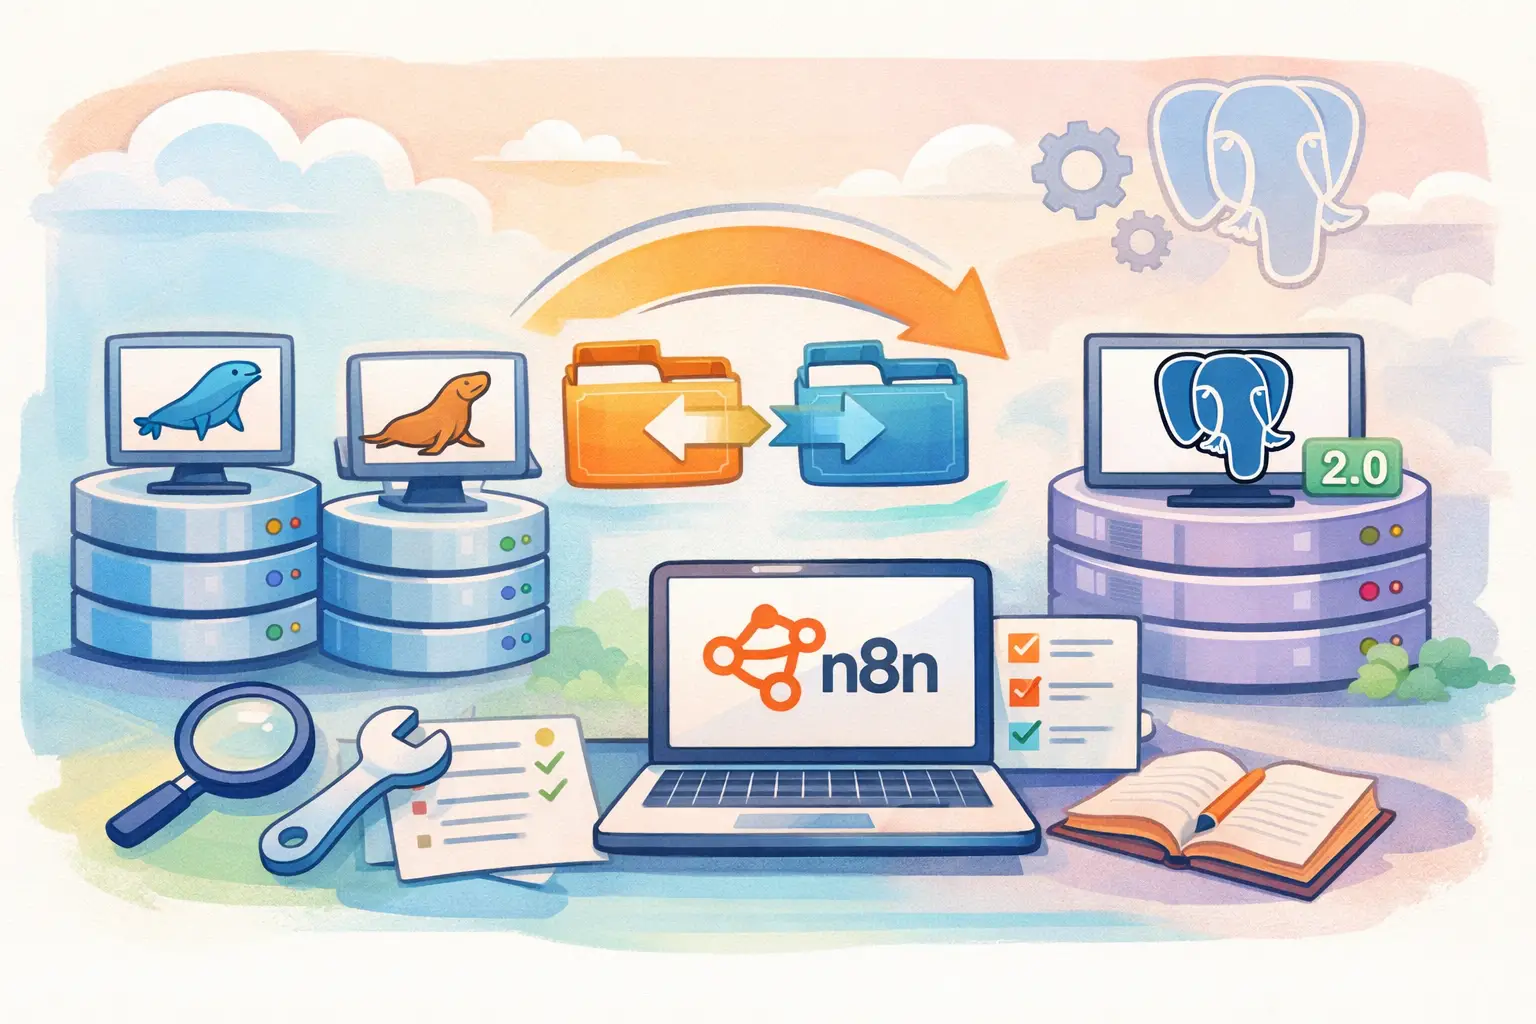
Table of Contents
- Introduction
- Why Migrate from MySQL to PostgreSQL?
- Pre-Migration Preparation
- Step-by-Step Migration Process
- Troubleshooting Common Issues
- Post-Migration Tasks and Validation
- Performance Improvements and Best Practices
- Self-Hosted vs Cloud: Database Differences
- Rollback Procedures and Contingency Plans
- Conclusion
- Frequently Asked Questions (FAQs)
Introduction
Upgrading to n8n 2.0 opens up a world of new features and improvements. However, for many self-hosted users who initially set up their instance on MySQL or MariaDB, this transition comes with a significant roadblock: the removal of MySQL/MariaDB support in version 2.0. If you have ever seen the dreaded error message reading "MySQL/MariaDB support removed" in your migration report, you know just how nerve-wracking this can feel.
In this guide, I will walk you through every single step required to migrate your n8n database from MySQL to PostgreSQL. We will cover everything—from understanding why this change was necessary to performing the migration and troubleshooting any issues that might arise along the way. Even if you are not a database guru, this guide is crafted in plain language with clear instructions, practical tips, and examples that make the process approachable.
By the end of this guide, you should feel confident in your ability to transition to PostgreSQL and continue harnessing the full power of n8n 2.0 without interruption.
Why Migrate from MySQL to PostgreSQL?
When you first adopted n8n, you might have chosen MySQL or MariaDB because they were familiar and seemed user-friendly. However, over time, some key issues with MySQL emerged—especially under the heavy demands of workflow automations. Let’s break down the main reasons for this crucial migration:
The Simple Filing Cabinet Analogy
Imagine your database is like a filing cabinet. MySQL might have initially looked like the simplest option available, but as your workflows became more complex, the filing system started to falter. PostgreSQL is designed to handle intricate filing patterns effortlessly and operates with robust performance—even when there is a lot of data shuffling around.
Key Issues with MySQL/MariaDB
- Data Corruption Under Load: When running heavy automated workflows, MySQL has shown tendencies to lose or corrupt execution data. This is a serious risk that could compromise the integrity of your operations.
- Poor Performance with Binary Data: If your workflows regularly transfer images, PDFs, or other binary files, MySQL struggles to manage these efficiently. PostgreSQL handles them much more gracefully.
- Connection Timeouts: During peak usage, MySQL’s connection management can create delays or outright failures in processing requests. PostgreSQL offers faster and more reliable connection handling.
- Deprecated Warnings: There have been consistent warnings about the use of MySQL in previous versions of n8n. Upgrading to PostgreSQL is a way to future-proof your setup.
Benefits of PostgreSQL
- Enhanced Speed and Efficiency: PostgreSQL can process requests 3-5x faster than MySQL under heavy loads, which directly translates to smoother workflows.
- Improved Data Integrity: In situations where multiple workflow executions occur simultaneously, PostgreSQL remains stable and secure.
- Future-Proof Design: As n8n 2.0 continues to evolve, PostgreSQL will be the backbone for many enhanced features, ensuring compatibility and scalability.
This migration is not just about keeping things running; it’s about improving the overall operational efficiency of your n8n instance.
Pre-Migration Preparation
Before diving into the migration process, a solid preparation phase can save you a great deal of stress. Think of it as packing for a long trip—you want to make sure you have everything secured before leaving.
1. Verify Your Current Database
The first step is simple: confirm that your n8n instance is indeed using MySQL/MariaDB. Here’s how you can quickly check:
-
Via the n8n Interface: Go to Settings > About and look for the database type. If you see MySQL or MariaDB mentioned, this guide is for you.
-
Using Docker: Run the command:
docker compose exec n8n n8n db:info
Check the output for "type: mysql" or "type: mariadb". If it shows PostgreSQL or SQLite, then you can skip this migration.
2. Backup Everything
Backing up is critical. Think of it as creating multiple safety nets to catch any losses during migration. Here are the backups you should perform:
-
Full Workflow Export:
- Navigate to Settings > Workflows.
- Select all workflows.
- Click Export and save the file as n8n-workflows-backup-YYYY-MM-DD.json.
-
Database Backup (MySQL/MariaDB):
If using Docker, execute:
docker compose exec db mysqldump -u root -p n8n > n8n-mysql-backup-$(date +%Y%m%d).sql
-
Configuration File Backup:
Save a copy of your docker-compose.yml:
cp docker-compose.yml docker-compose-mysql-backup.yml
Store these backups in at least two separate locations, such as an external drive and a cloud storage service. Never underestimate the power of a good backup plan.
3. Plan for Downtime
The migration will inevitably require some downtime. Even though the actual migration might take only 1-3 hours depending on your data size, plan these activities during a window of low traffic. Inform users if necessary to manage expectations.
4. Install Required Tools
Ensure that your environment has all the necessary tools. You will require:
- Docker and Docker Compose (if you are using Docker)
- Access to your server terminal (SSH)
- Basic familiarity with command-line operations
Taking these preparatory steps seriously will make the subsequent migration process much smoother.
Step-by-Step Migration Process
Now that you’re fully prepared, let’s move through the migration process step by step. Each stage is designed to minimize errors and ensure data integrity.
Step 1: Set Up PostgreSQL
Before you can migrate your data, you need a running PostgreSQL instance. There are two common methods to achieve this:
Option A: Docker Compose (Recommended)
Add the following section to your existing docker-compose.yml without removing your current MySQL service immediately:
  postgres:
    image: postgres:16
    restart: always
    environment:
      - POSTGRES_USER=n8n
      - POSTGRES_PASSWORD=n8n_password_2025
      - POSTGRES_DB=n8n
    volumes:
      - postgres_data:/var/lib/postgresql/data
    healthcheck:
      test: ["CMD-SHELL", "pg_isready -h localhost -U n8n -d n8n"]
      interval: 5s
      timeout: 5s
      retries: 10

volumes:
  postgres_data:
Then start it with:
docker compose up -d postgres
Option B: Managed PostgreSQL
If you prefer to use a managed database service like Railway, Neon, or Supabase, follow these steps:
- Sign up for the service and create a database called n8n.
- Retrieve your connection string (the format will be similar to postgresql://user:pass@host:5432/n8n).
- Use the connection string in your configuration and during migration.
Verifying that PostgreSQL is up and running is crucial. Check its logs to confirm that the service is healthy:
docker compose logs postgres
Look for messages that say "database system is ready to accept connections."
Step 2: Execute the Official Migration Command
With PostgreSQL set up, it’s time to run the migration command provided by n8n. This command helps transfer your existing data from MySQL to PostgreSQL. Execute the following command from your n8n directory:
docker compose run --rm n8n n8n db:migrate-mysql-to-postgres \
  --mysql-host=mysql \
  --mysql-port=3306 \
  --mysql-user=root \
  --mysql-password=your_mysql_password \
  --mysql-database=n8n \
  --postgres-host=postgres \
  --postgres-port=5432 \
  --postgres-user=n8n \
  --postgres-password=n8n_password_2025 \
  --postgres-database=n8n
What is happening here?
- The migration tool connects to your MySQL database.
- It reads every table and converts the data to a PostgreSQL-compatible format.
- It then writes the converted data to the PostgreSQL database.
- Finally, it creates the necessary indexes for better performance.
The process could generate output messages similar to:
Migrating table: workflow_entity... OK
Migrating table: credentials_entity... OK
...
Migration completed successfully! 47/47 tables migrated.
Take your time to ensure there are no errors in the output. If there are warnings or issues, they should be addressed before moving on further.
Step 3: Update Your Docker Compose Configuration
After successfully migrating your data, update your docker-compose.yml to remove references to the old MySQL service. This step is essential so that n8n uses the newly populated PostgreSQL database:
- Remove or comment out the MySQL service section:
  # db:
  #   image: mysql:8
  #   environment:
  #     - MYSQL_ROOT_PASSWORD=your_mysql_password
  #     - MYSQL_DATABASE=n8n
  #   volumes:
  #     - mysql_data:/var/lib/mysql
- Change the n8n service environment variables to point to PostgreSQL:
services:
  n8n:
    environment:
      - DB_TYPE=postgresdb
      - DB_POSTGRESDB_HOST=postgres
      - DB_POSTGRESDB_PORT=5432
      - DB_POSTGRESDB_DATABASE=n8n
      - DB_POSTGRESDB_USER=n8n
      - DB_POSTGRESDB_PASSWORD=n8n_password_2025
- Save and exit.
Restart your services to apply the changes:
docker compose down
docker compose up -d
Step 4: Validate the Migration
Now that n8n is reconfigured, it is time to perform thorough validation tests to ensure everything operates correctly.
- Login and User Accounts: Ensure that all user accounts are intact and functional.
- Workflows: Open several workflows to confirm that they load without missing data.
- Execution History: Verify that recent execution logs are available.
- Settings and Credentials: Check if your settings and credentials have been migrated properly.
- Test Run: Execute a simple test workflow that uses an HTTP Request node or similar functionality to confirm its success.
Sample test workflow:
- Create a manual trigger.
- Add an HTTP Request node targeting a well-known website (for example, google.com).
- Add a NoOp node to conclude the test.
When executed, this workflow should run within a few seconds, confirming the operational state of your migrated n8n instance.
Troubleshooting Common Issues
Even a well-planned migration can encounter bumps along the road. Here are some common issues and practical troubleshooting tips:
Error 1: "relation already exists"
-
Cause: This error usually indicates a partial migration or a previous migration attempt that created some residual tables.
-
Fix: Drop and recreate your PostgreSQL database using:
docker compose exec postgres dropdb -U n8n n8n
docker compose exec postgres createdb -U n8n n8n
Then re-run the migration command.
Error 2: "Connection refused"
-
Cause: This typically points to a problem with either the MySQL or PostgreSQL instance not running.
-
Fix: Check the status of your services:
docker compose ps
Ensure that both MySQL and PostgreSQL are active. If any are down, start them with:
docker compose up -d db postgres
Error 3: "Authentication failed"
- Cause: Incorrect passwords or usernames in the configuration files or migration command.
- Fix: Double-check all credentials for both MySQL and PostgreSQL. Make sure that the passwords specified in the docker-compose.yml match those used in the migration command.
Error 4: "Out of memory"
- Cause: Large datasets during migration can trigger memory issues.
- Fix: Consider adding swap space on your host machine or running the migration process during off-peak hours. Alternatively, adjust Docker resource limits to allow for more memory allocation.
Error 5: "Migration stuck at 47/47 tables"
-
Cause: In large instances with thousands of workflows, the migration might appear to be stalled.
-
Fix: It may simply take longer than anticipated. Monitor the logs with:
docker compose logs -f
Wait for 10-30 minutes if necessary before concluding that there is a genuine problem.
By following these troubleshooting steps, you can address most common hiccups and ensure a smooth migration process.
Post-Migration Tasks and Validation
After migration, performing a post-migration validation is crucial. This step serves as your final checkpoint before updating to n8n 2.0 or proceeding with further configurations.
Checklist for Post-Migration Validation
| Task | Status | Comments |
|---|---|---|
| Login Functionality | [ ] | Ensure that all users can login. |
| Workflow Visibility | [ ] | All workflows must load properly. |
| Credential Integrity | [ ] | Test API and connection credentials. |
| Execution History Retrieval | [ ] | Confirm recent workflow logs. |
| Migration Report Check | [ ] | Validate that no critical errors remain. |
| Test Workflow Execution | [ ] | Verify that a sample workflow runs successfully. |
Performing a Final Test Run
It is advisable to perform a complete walkthrough:
- Log in as a normal user.
- Create and manually trigger a workflow.
- Monitor the workflow execution via the n8n dashboard.
- Check the database connections from the n8n Settings > Usage & Plan page.
If everything checks out, you are ready to upgrade or continue with additional setups. If you find discrepancies, revisit the troubleshooting section or restore your backups as a contingency measure.
Performance Improvements and Best Practices
A successful migration unlocks numerous operational benefits. Many users report significant performance enhancements. Here are some key improvements and best practices moving forward:
Performance Benefits
- Faster Data Retrieval: PostgreSQL's ability to handle complex queries means that workflow execution histories load much faster.
- Enhanced Stability: PostgreSQL remains stable even when subjected to high workflow volumes. This leads to fewer interruptions during peak operational times.
- Improved Data Integrity: With PostgreSQL handling data conversion more robustly, the risk of data corruption during concurrent operations is significantly reduced.
Best Practices Post-Migration
- Regular Backups: Automate weekly or even daily backups of your PostgreSQL database. Consider using cron jobs and external storage solutions.
- Optimize Queries: As your workflows evolve, review and optimize any custom queries to take full advantage of PostgreSQL capabilities.
- Monitor Disk Usage: PostgreSQL may require more disk space than MySQL, especially as data grows. Monitor your storage and plan for expansions accordingly.
- Routine Maintenance: Use PostgreSQL vacuuming processes to manage database bloat. Typically, n8n handles this automatically, but manual checks never hurt.
- Load Testing: Prior to major changes, perform load tests to ensure your configuration can handle the expected traffic. Tools like Apache JMeter can be valuable here.
- Connection Pooling: Ensure that connection pooling is enabled to manage multiple simultaneous connections. This reduces overhead and speeds up query responses.
Implementing these best practices will help you derive maximum benefit from your new PostgreSQL setup and maintain a robust n8n environment.
Self-Hosted vs Cloud: Database Differences
Understanding the differences between self-hosted and cloud versions of n8n can help you decide on the best approach for your business. Let’s compare key aspects in the table below:
| Aspect | Self-Hosted | n8n Cloud |
|---|---|---|
| MySQL Support | Removed in 2.0 | Handled automatically |
| Migration Effort | Manual (as per this guide) | Automatic (managed by n8n team) |
| PostgreSQL Setup | Requires manual configuration | Pre-configured for you |
| Backup Responsibility | Your responsibility | Backups managed by cloud team |
| Customization | High flexibility | Limited to available features |
For self-hosted users, while the migration requires additional work upfront, it offers maximum control over configuration and customization. For users of the n8n Cloud, such migration challenges are resolved by the n8n team, freeing up resources for further workflow enhancements.
Rollback Procedures and Contingency Plans
Even with meticulous planning, things might sometimes not go as expected. Having a solid rollback plan is crucial. Here’s how to quickly revert to your previous MySQL configuration if needed:
Step-by-Step Rollback
-
Stop All Services:
docker compose down
-
Restore the docker-compose.yml File:
Use your backup configuration file:
cp docker-compose-mysql-backup.yml docker-compose.yml
-
Restore the MySQL Database Backup:
docker compose exec db mysql -u root -p n8n < n8n-mysql-backup-YYYYMMDD.sql
-
Restart the Services:
docker compose up -d
By following these steps, you can ensure that your system returns to full operational status while you diagnose and correct the issues in a controlled manner. Always remember: backups are your best friend.
Conclusion
Migrating from MySQL/MariaDB to PostgreSQL for n8n 2.0 might seem like a daunting process at first. However, by breaking down each step and preparing thoroughly, you can achieve a seamless transition. The benefits in performance, stability, and data integrity are well worth the effort.
This guide has covered everything from the rationale behind the switch, step-by-step migration instructions, troubleshooting tips, and the best practices post-migration. With regular backups, careful monitoring, and room for iterative improvements, your n8n instance will be well-equipped to handle future updates and scale as required.
Remember, every migration comes with a learning curve. Take your time, validate each step, and use backup resources whenever needed. With this comprehensive guide in hand, you are now set to leverage the improvements of PostgreSQL and unlock the full potential of n8n 2.0.
Happy migrating and here’s to a smoother, faster, and more robust automation experience!
With the detailed steps, troubleshooting recommendations, and best practices outlined above, you now have all the tools needed for a successful migration to n8n 2.0 with PostgreSQL. Remember to take your time, back up all data, and validate each step carefully. This proactive approach not only secures your workflows but also streamlines the upgrade process, ensuring that you can focus on expanding your automation capabilities with confidence. Enjoy your enhanced, performance-driven n8n setup!
FAQ
Frequently Asked Questions
Common questions about this article
Related Articles
You Might Also Like
Explore more articles on similar topics
The Complete Non-Technical Guide to Upgrading n8n to Version 2.0: Everything You Need to Know
A comprehensive, non-technical guide to upgrading n8n to version 2.0. Learn about breaking changes, migration steps, troubleshooting, and detailed fix guides for database migration, code nodes, task runners, disabled nodes, file access, OAuth, and Start node replacement.
n8n 2.0 Disabled Nodes: ExecuteCommand & LocalFileTrigger Fix Guide
Explore an in-depth guide on how n8n 2.0 disables certain high-risk nodes by default, why this decision was made, and detailed steps to safely re-enable or replace ExecuteCommand and LocalFileTrigger nodes.
n8n 2.0 File Access Restrictions: Common Errors and Easy Fixes
A detailed guide on n8n 2.0 file access restrictions. Learn common errors, troubleshooting steps, and easy fixes to secure and streamline your workflow file management.