n8n 2.0 Start Node Removal & Replacement Guide
A detailed guide to help you migrate your workflows from the deprecated Start node to modern triggers in n8n 2.0.
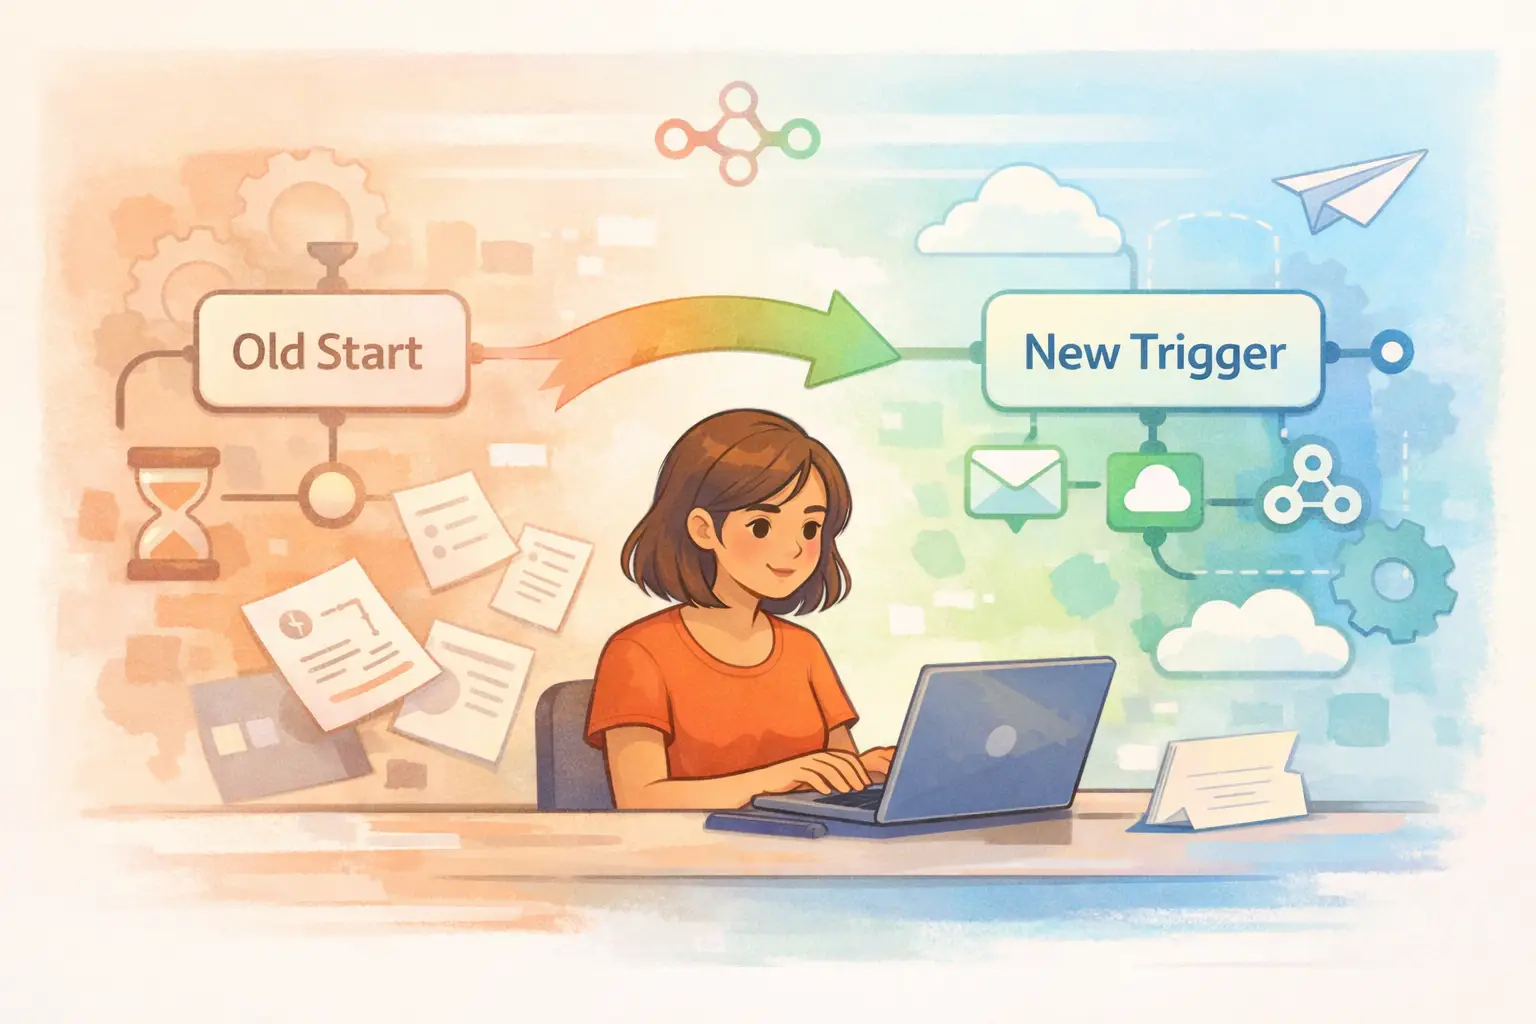
Table of Contents
- Introduction
- What Changed in n8n 2.0
- Identifying Affected Workflows
- Understanding the Reasoning Behind the Change
- Step-by-Step Guide to Migrating Your Workflows
- Real-World Examples
- Cloud vs Self-Hosted Behavior
- Migration Checklist
- Frequently Asked Questions (FAQs)
Introduction
n8n has always been a powerful and flexible workflow automation tool. In version 2.0, one of the major changes is the complete removal of the legacy Start node. If you've been using n8n over the years, you might have noticed that some of your older workflows have suddenly broken following an upgrade. This detailed guide explains the changes in plain language, helping you to identify, update, and test those workflows using appropriate replacement trigger nodes. Whether you run workflows manually, on a schedule, or through external events, this guide will walk you through the necessary steps to ensure a smooth transition.
In the following sections, we will break down the reasons for this change and offer step-by-step instructions, along with concrete examples that will help you understand the migration process from the legacy Start node to the modern triggers available now in n8n 2.0.
What Changed in n8n 2.0
In early versions of n8n, every workflow was designed to start with a generic “Start” node. This node acted as the entry point, allowing you to manually fire off a workflow from the editor, link workflows together, or sometimes simply exist for historical reasons. However, as the platform evolved, n8n introduced more specific trigger nodes to handle various starting scenarios better. Here’s a quick look at what changed:
- The legacy Start node is now completely removed.
- Replacement nodes have been introduced to handle distinct use cases:
- Manual Trigger — for workflows that you run from the editor.
- Schedule Trigger — for workflows that need to run at set intervals or specific times.
- Webhook Trigger — for workflows that are initiated by external HTTP requests.
- Execute Workflow Trigger — for child or sub-workflows invoked by a parent workflow.
- Other app-specific triggers are available (Slack, Gmail, Notion, etc.).
The idea behind these changes is to have a clear, purpose-specific trigger for each workflow. By eliminating the generic Start node, n8n aims to improve clarity and consistency in workflow designs. For further details and technical changes, you might refer to the official documentation on this change here.
Identifying Affected Workflows
Before diving into the technical replacement of nodes, it is important to first identify which of your workflows have been affected by the upgrade. Here are two effective methods to locate workflows that rely on the old Start node:
Method 1: Using the Migration Report
If you are on at least version 1.119.0, you have access to the built-in Migration Report. Follow these simple steps:
- Navigate to Settings → Migration Report inside your n8n editor.
- Look for any entries that mention the Start node.
- Note down these workflows, paying attention to the workflow name, ID, and severity level (most issues should be at least of medium urgency).
This report provides a well-organized list of the workflows that require updating, making your job much easier.
Method 2: Manual Inspection
If the Migration Report is not available, a manual inspection is recommended:
- Open the workflows list in your n8n editor.
- Sort through older workflows which were created before the introduction of modern triggers.
- Check the first node in every workflow; if it is labeled “Start”, this workflow must be migrated.
By using either of these methods, you can confidently identify all workflows that depend on the deprecated Start node, ensuring that no workflow is left behind during your migration.
Understanding the Reasoning Behind the Change
At its heart, the removal of the Start node is all about clarity and precision. Let’s examine the reasoning behind this significant change:
- Too Generic: The original Start node didn’t clearly explain how a workflow was initiated. It could be used in multiple contexts, leading to ambiguity.
- Varying Use Cases: Workflows in n8n might be triggered manually, scheduled, or fired through external events. Using the same node for all these scenarios created confusion.
- Better Alternatives: With the introduction of distinct trigger nodes such as Manual Trigger, Schedule Trigger, and Webhook Trigger, you can now clearly represent the intent of each workflow.
- Maintenance and Ease of Use: By having specific starting points, teams can easily understand and maintain workflows. This also helps in documentation and troubleshooting, as the logic behind each workflow is immediately apparent.
This move towards specificity not only cleans up the workflow design but is also a thoughtful response to feedback from users who experienced challenges when using a single node for multiple trigger types.
Step-by-Step Guide to Migrating Your Workflows
Migrating your workflows is not as complicated as it might seem. The steps outlined below help you systematically remove the legacy Start node and replace it with the new, appropriate trigger node based on how your workflow is supposed to run. I will cover various scenarios so you can pick the right approach for your situation.
Manual Workflows
Manual workflows are the ones you run directly from the editor for testing or utility purposes. In previous versions, you might have simply hit “Execute Workflow” and the Start node would be the entry point.
How to Replace the Start Node in a Manual Workflow:
- Delete the Existing Start Node:
- Open your workflow and remove the Start node.
- Insert a Manual Trigger Node:
- From the node library, add a Manual Trigger node.
- Reconnect the Workflow:
- Link the new Manual Trigger to the following nodes in the workflow.
- Test the Workflow:
- Save the workflow and click “Execute Workflow” to ensure it runs as expected.
Quick Tips:
- If your workflow has additional nodes for error or logging, make sure these remain connected correctly.
- Review any transformation or code logic that might have been associated with the old node to ensure compatibility.
Scheduled Workflows
For workflows that run on a specific schedule or at regular intervals, using a Schedule Trigger is the way to go.
Steps for Scheduled Workflows:
- Remove the Legacy Start Node:
- Open your workflow and completely remove the Start node.
- Add a Schedule Trigger Node:
- Locate the Schedule Trigger in the node list.
- Configure the Schedule:
- You can configure the node either with a simple recurrence (e.g., "every 5 minutes", "every day at 09:00") or by inputting a specific cron expression.
- Reconnect the Workflow:
- Connect the Schedule Trigger node to the subsequent nodes.
- Testing:
- Optionally run the workflow manually to check if the schedule configuration is working properly.
Example Configuration:
Below is a simple table summarizing the settings for a typical scheduled workflow:
+-------------------+----------------------------------------------------+
| Setting | Example Configuration |
+-------------------+----------------------------------------------------+
| Trigger Frequency | Daily |
| Time | 02:00 |
| Cron Expression | 0 2 * * * |
+-------------------+----------------------------------------------------+
Testing will help you ensure that the workflow executes at the right intervals, just as intended.
Sub-Workflows
Sub-workflows often refer to workflows designed to be called from another “parent” workflow. Previously, these workflows also started with a generic Start node. In the updated system, you should use the Execute Workflow Trigger.
Migration Steps for Sub-Workflows:
- Open the Sub-Workflow:
- Begin by opening the workflow that is used as a sub-workflow.
- Remove the Legacy Node:
- Delete the Start node from the beginning of the workflow.
- Insert an Execute Workflow Trigger Node:
- This new node is specifically tailored to handle sub-workflows.
- Reconnect Nodes:
- Ensure that the new trigger is connected to the rest of the workflow flow.
- Test with the Parent Workflow:
- Confirm that the parent workflow calling this sub-workflow processes data correctly.
Key Considerations:
- Make sure the data passed from the parent workflow matches what the sub-workflow expects.
- Review any logic that processes input data and adjust, if necessary – this can help avoid unexpected behavior.
Workflows Triggered Externally
Certain workflows rely on external events such as HTTP webhook calls or app-specific triggers. Sometimes, these workflows might have a redundant Start node in addition to a trigger node like Webhook.
Steps to Clean Up External Workflows:
- Identify the Primary Trigger Node:
- For workflows using external events, the actual work item is initiated by a node such as Webhook Trigger or an app-specific trigger.
- Remove the Extra Start Node:
- Since the Start node is not needed, safely delete it.
- Confirm the Connection:
- Ensure that the primary trigger node is properly connected to the workflow.
- Run a Test:
- Emulate the external event (via a test HTTP request or app trigger) and monitor the workflow execution.
Best Practices:
- Double-check any authentication or endpoint settings related to the trigger node.
- Make sure that the test event is representative of what happens in the live environment.
Real-World Examples
To better illustrate the migration process, consider the following three real-world examples. These examples highlight different scenarios you might encounter when upgrading your workflows.
Example 1: Manual Batch Data Cleanup
Before n8n 2.0:
- Workflow sequence: Start → Code Node → Database Node.
After n8n 2.0:
- Workflow sequence: Manual Trigger → Code Node → Database Node.
Migration Process:
- Open the affected workflow.
- Delete the Start node.
- Insert a Manual Trigger.
- Connect it to the Code Node and then the Database Node.
- Test by manually running the workflow in the editor.
This change makes it clear that the workflow is meant for on-demand execution rather than some background process.
Example 2: Nightly Sync Workflow
Before n8n 2.0:
- Workflow sequence: Start → Cron-based Logic (embedded in the workflow) → REST API Node.
After n8n 2.0:
- Workflow sequence: Schedule Trigger (configured to run nightly at 02:00) → REST API Node.
Migration Process:
- Open the nightly sync workflow.
- Remove the Start node.
- Add a Schedule Trigger and configure it for the desired nightly run time.
- Connect to the REST API Node.
- Validate that the workflow runs automatically at the next scheduled interval.
The benefit is obvious: the trigger now explicitly defines the execution schedule, eliminating any ambiguity.
Example 3: Common Sub-Workflow Used by Multiple Parents
Before n8n 2.0:
- Sub-workflow sequence: Start → Set Node → Code Node → Return Data Node.
- Invoked from several parent workflows using an Execute Workflow node.
After n8n 2.0:
- Sub-workflow sequence: Execute Workflow Trigger → Set Node → Code Node → Return Data Node.
Migration Process:
- Open the sub-workflow from the workflow editor.
- Delete the Start node.
- Replace it with the Execute Workflow Trigger node.
- Connect it to the subsequent nodes.
- Test the sub-workflow by executing one of its parent workflows.
This approach ensures that data transformation and return values between the parent and sub-workflow are clear and predictable.
Cloud vs Self-Hosted Behavior
One common question is whether the removal of the Start node impacts cloud-based n8n installations differently from self-hosted setups. Here’s a quick breakdown:
| Feature | n8n Cloud | Self-Hosted |
|---|---|---|
| Accessing the Editor | Log in via your designated instance URL. | Access via your own domain or IP address. |
| Migration Process | Follow identical steps as documented. | Follow identical steps, ensuring your version is updated. |
| Trigger Replacements | Manual, Schedule, Execute Workflow, and other triggers work the same way. | Manual, Schedule, Execute Workflow, and other triggers are fully supported. |
Both environments experience the same upgrade challenges. Pay attention to migration reports or error messages in your workflow editor regardless of your hosting preference. Maintaining consistency in your approach helps to eliminate any unexpected downtime during migration.
Migration Checklist
Before wrapping up your migration, use this checklist to ensure that every affected workflow is updated appropriately:
- Run the Migration Report (if available) and list all workflows flagged for the deprecated Start node.
- For every flagged workflow, decide on the appropriate trigger type:
- Manual workflows → Use Manual Trigger.
- Scheduled workflows → Use Schedule Trigger.
- Sub-workflows → Use Execute Workflow Trigger.
- Workflows with external events → Remove Start node if a dedicated trigger exists.
- Update the workflow:
- Delete the Start node.
- Insert and configure the new trigger node.
- Reconnect nodes to maintain the logical sequence.
- Test every workflow:
- Execute manually for test workflows.
- Simulate scheduled execution by running a test event.
- Trigger sub-workflows from their parent workflows to verify data consistency.
- Verify logs and error messages to ensure all workflows run as expected.
- Update internal documentation where necessary to reflect the changes made.
This systematic approach ensures that all workflows are updated correctly and you are ready to take full advantage of the benefits provided in n8n 2.0.
Additional Insights and Best Practices
As you migrate your workflows, keep the following best practices in mind:
- Always back up your workflows before making changes. This ensures you can revert in case of unforeseen issues.
- Use the n8n community and official documentation as valuable resources. They offer insights, frequently updated troubleshooting tips, and additional examples which can be very helpful.
- Handle date and time formats carefully when configuring the Schedule Trigger. Time zones and cron expressions can sometimes lead to unexpected behavior.
- Consider documenting the migration steps internally. This helps to onboard team members quicker and provides a reference if similar issues arise in the future.
- Practice a modular design approach. When constructing new workflows, consider how you might reuse sub-workflows and dedicated trigger nodes rather than relying on a generic entry point. This will simplify maintenance and debugging down the line.
One thing I’ve noticed is that moving to a model where each workflow has a clear and specific starting point has helped teams better understand their processes. It becomes easier to identify bottlenecks and pinpoint where issues might be occurring if something goes wrong.
In some cases, teams even organize a short workshop to go through their critical workflows. During these sessions, team members trace the execution flow from the trigger through each node, update documentation, and discuss potential improvements for efficiency. Adopting a similar approach might be very helpful if you’re managing a large number of workflows.
Final Thoughts
The move from a generic Start node to more specialized trigger nodes in n8n 2.0 is a thoughtful step forward for clarity and maintainability. Though the change might initially seem disruptive, it ultimately offers a host of benefits including clearer workflow design, improved debugging, and streamlined maintenance.
By following the step-by-step guide outlined above, you are well-equipped to perform a thorough migration of your workflows. Taking the transition one piece at a time ensures that you catch every workflow that might be affected and update it with the appropriate trigger node. Always remember to test your workflows in a staging environment before moving on to production. This systematic migration not only future-proofs your automation processes but also enhances overall reliability and performance.
Above all, this migration is a chance to review your workflows. Consider it an opportunity to optimize and fine-tune processes that may have been overlooked in the past. Over time, these tweaks can add up, leading to more streamlined and efficient workflow executions.
Frequently Asked Questions (FAQs)
What specific changes do I need to make when replacing the Start node with the Manual Trigger node?
When you replace the Start node with a Manual Trigger, simply remove the legacy node and insert the Manual Trigger from your node palette. Then, reconnect your subsequent nodes. This step clarifies that the workflow is intended for manual execution via the editor. After making these changes, test the workflow by clicking “Execute Workflow” to ensure it behaves as expected.
Why does the Migration Report flag some workflows as having a Start node?
The Migration Report is designed to scan your workflows for any deprecated nodes, including the Start node. When it flags a workflow, it means that the workflow uses an outdated approach that will not perform as expected in n8n 2.0. Using the report as a guide can help you quickly identify which workflows need to be updated.
How can I ensure that sub-workflows operate correctly after migration?
Sub-workflows should now start with the Execute Workflow Trigger node. To ensure they operate correctly, update the sub-workflow by removing the Start node and adding the new trigger. Then, test the sub-workflow by invoking it from the parent workflow. Check the data passed back and forth to confirm that everything is functioning correctly. If any issues occur, review your node connections and configuration settings.
By following this guide, you are taking a systematic, informed approach to updating your workflows for n8n 2.0. The transition from a generic Start node to dedicated trigger nodes reinforces clarity, reduces ambiguity, and ensures a more maintainable workflow structure across your organization. Embrace this change as an opportunity to refine your processes and leverage the full power of n8n 2.0's trigger model.
Happy migrating, and here’s to more efficient workflow automation in your projects!
FAQ
Frequently Asked Questions
Common questions about this article
Related Articles
You Might Also Like
Explore more articles on similar topics
The Complete Non-Technical Guide to Upgrading n8n to Version 2.0: Everything You Need to Know
A comprehensive, non-technical guide to upgrading n8n to version 2.0. Learn about breaking changes, migration steps, troubleshooting, and detailed fix guides for database migration, code nodes, task runners, disabled nodes, file access, OAuth, and Start node replacement.
n8n 2.0 Database Migration: MySQL to PostgreSQL - Complete Fix Guide
A comprehensive guide to transitioning your n8n database from MySQL/MariaDB to PostgreSQL, ensuring a smooth upgrade to n8n 2.0 with detailed steps, troubleshooting tips, and best practices.

n8n 2.0 Disabled Nodes: ExecuteCommand & LocalFileTrigger Fix Guide
Explore an in-depth guide on how n8n 2.0 disables certain high-risk nodes by default, why this decision was made, and detailed steps to safely re-enable or replace ExecuteCommand and LocalFileTrigger nodes.